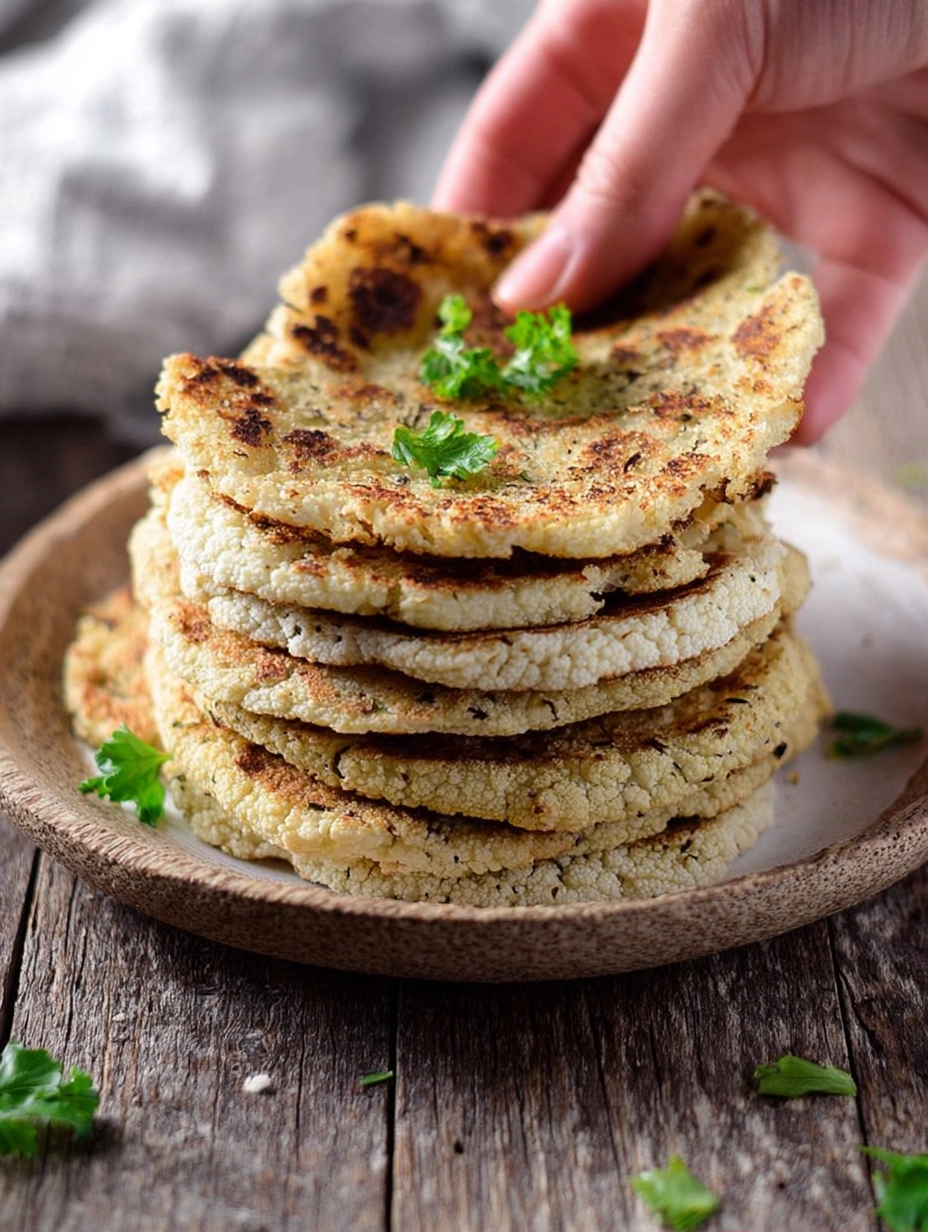

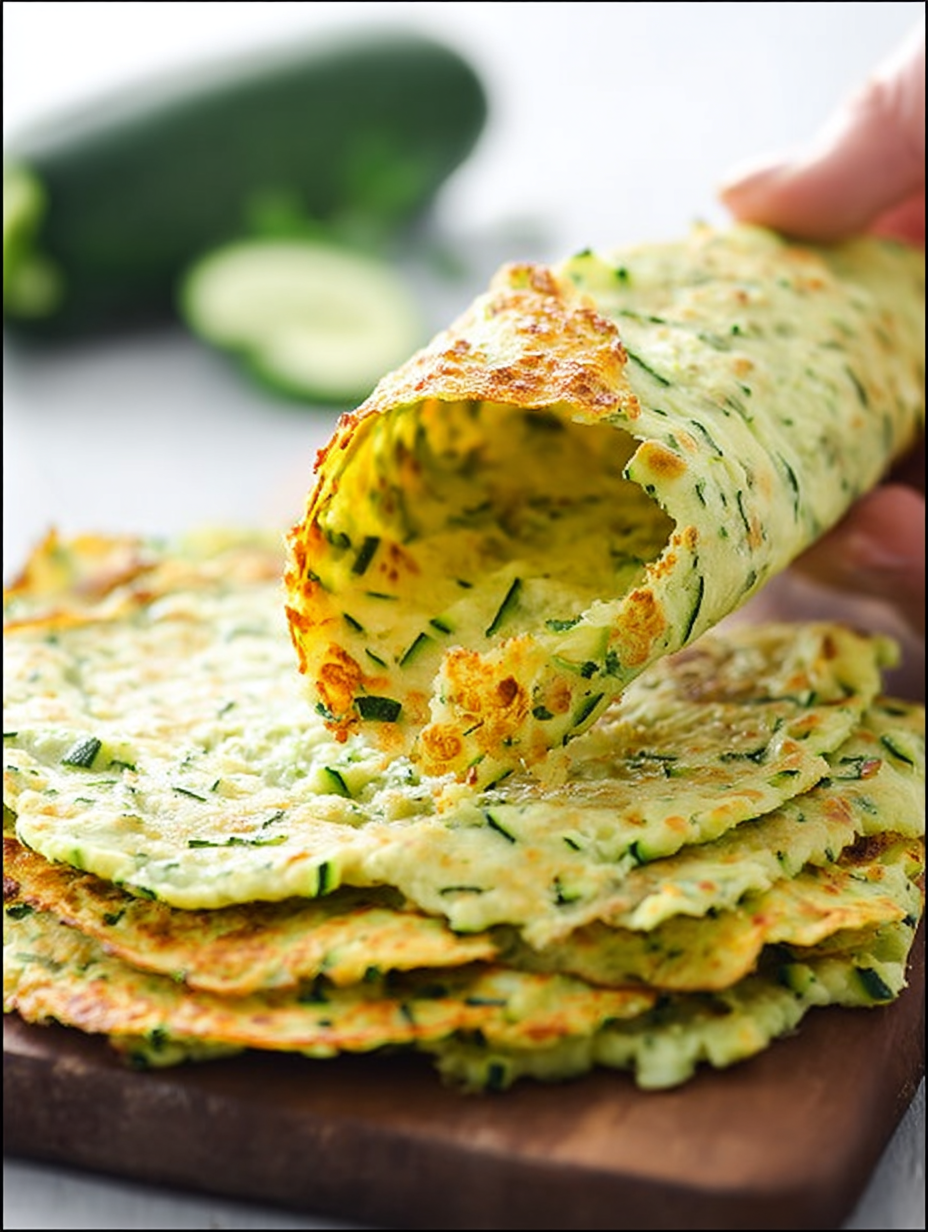
Say goodbye to bland, rubbery low-carb tortillas. This recipe for Zucchini Tortillas transforms a simple summer squash into a pliable, flavorful, and nutritious wrap perfect for any meal. Whether you’re following a keto, gluten-free, or simply a healthier lifestyle, these homemade tortillas are a game-changer. They bake to a golden brown, hold their shape beautifully, and offer a deliciously subtle veggie flavor that complements both bold and delicate fillings.
With just a handful of wholesome ingredients and about 40 minutes, you can create a stack of these versatile wraps to revolutionize your lunches and dinners.
Why You’ll Love These Zucchini Tortillas
These tortillas stand out for several key reasons that make them a staple in any health-conscious kitchen. First, they are incredibly low in net carbohydrates, making them ideal for anyone managing their carb intake. The base of shredded zucchini provides moisture, fiber, and essential nutrients like vitamin C and potassium. When combined with binding ingredients like eggs and cheese, it creates a sturdy yet flexible foundation.
Unlike many store-bought alternatives, this recipe contains no artificial preservatives, gums, or strange ingredients. You have complete control over what goes into your food. Furthermore, they are baked, not fried, resulting in a lighter texture without excess oil.
Their versatility is perhaps their greatest asset. Use them as you would any tortilla or flatbread: for breakfast burritos, lunchtime wraps, dinner fajitas, or even as a base for mini pizzas. They are a fantastic way to add an extra serving of vegetables to your day without feeling like you’re eating a salad.
The process is straightforward, and the result is a reliably delicious and functional wrap that will make you wonder why you ever settled for less.
Ingredient Breakdown & Substitutions
Core Ingredients
Let’s examine the simple, wholesome components that make these tortillas work.
- Zucchini (1 lb): The star of the show. Shredded zucchini provides the bulk, moisture, and vegetable base. It’s crucial to remove as much water as possible to prevent soggy tortillas.
- Large Eggs (2): Acts as the primary binder, holding the shredded zucchini and dry ingredients together during baking.
- Breadcrumbs or Superfine Almond Flour (1/2 cup): This ingredient adds structure and helps absorb remaining moisture. For a strict low-carb or gluten-free option, almond flour is perfect. Other substitutions could include coconut flour (use less, as it’s highly absorbent) or crushed pork rinds for a keto option. We’ll use almond flour as our standard here.
- Shredded Mozzarella Cheese (1/2 cup): Adds flavor, helps with browning, and contributes to the flexible texture once cooled. For a dairy-free version, try a meltable vegan cheese alternative.
- Seasonings (Onion Powder, Garlic Powder, Salt): These simple seasonings enhance the natural flavor of the zucchini without overpowering it. Feel free to add a pinch of smoked paprika or cumin for a different flavor profile.
The Critical Step: Draining the Zucchini
The single most important step for success is thoroughly removing moisture from the shredded zucchini. Excess water is the enemy of a firm, flexible tortilla. After shredding the zucchini (using a box grater or food processor), place it in a clean kitchen towel or several layers of cheesecloth.
Twist and squeeze over the sink with all your might. You’ll be amazed at how much liquid comes out. This should leave you with about 1 packed cup of dry, crumbly zucchini pulp. This step ensures your tortillas bake through properly and don’t steam on the pan.
Step-by-Step Instructions for Perfect Tortillas
Preparation & Mixing
Preheat your oven to 375°F (190°C). Line two large baking sheets with parchment paper for easy release and cleanup. In a large mixing bowl, combine the thoroughly drained zucchini, eggs, almond flour, shredded mozzarella, onion powder, garlic powder, and salt.
Use a fork or your hands to mix until a uniform, slightly sticky batter forms. Everything should be evenly distributed.
Shaping and Baking
Using a 1/4-cup measuring cup, scoop the batter onto the prepared baking sheets. Aim for 4 mounds per sheet, spacing them well apart to allow for spreading. Using the back of the measuring cup or a small spatula, flatten each mound into a thin, even circle, about 5 inches in diameter. The thinner and more uniform they are, the more they will resemble real tortillas.
Place the baking sheets in the preheated oven and bake for approximately 18-22 minutes. Watch for the edges and surface to turn a consistent golden brown. This browning is key for flavor and structure.
Cooling & Storage
This is the patience-testing part! Allow the tortillas to cool completely on the baking sheet before attempting to remove them. As they cool, they firm up and become much more pliable. Once cool, you can stack them with parchment paper in between and store them in an airtight container in the refrigerator for up to 5 days.
They can also be frozen for longer storage; simply separate them with parchment paper and place in a freezer bag.
Nutritional Benefits & Dietary Information
These zucchini tortillas are a nutritional powerhouse compared to traditional flour or corn tortillas. The primary benefit is the dramatic reduction in carbohydrates and increase in fiber. Zucchini is low in calories and carbs but high in water and fiber, which aids digestion and promotes a feeling of fullness. The addition of eggs and cheese provides a complete source of protein and healthy fats, making these tortillas a balanced component of any meal.
They are naturally gluten-free when using almond flour and can be adapted to be dairy-free. For another fantastic low-carb, high-protein meal idea, check out our Green Chili Chicken One-Pan Recipe that would pair beautifully with these tortillas.
Serving Suggestions and Creative Uses
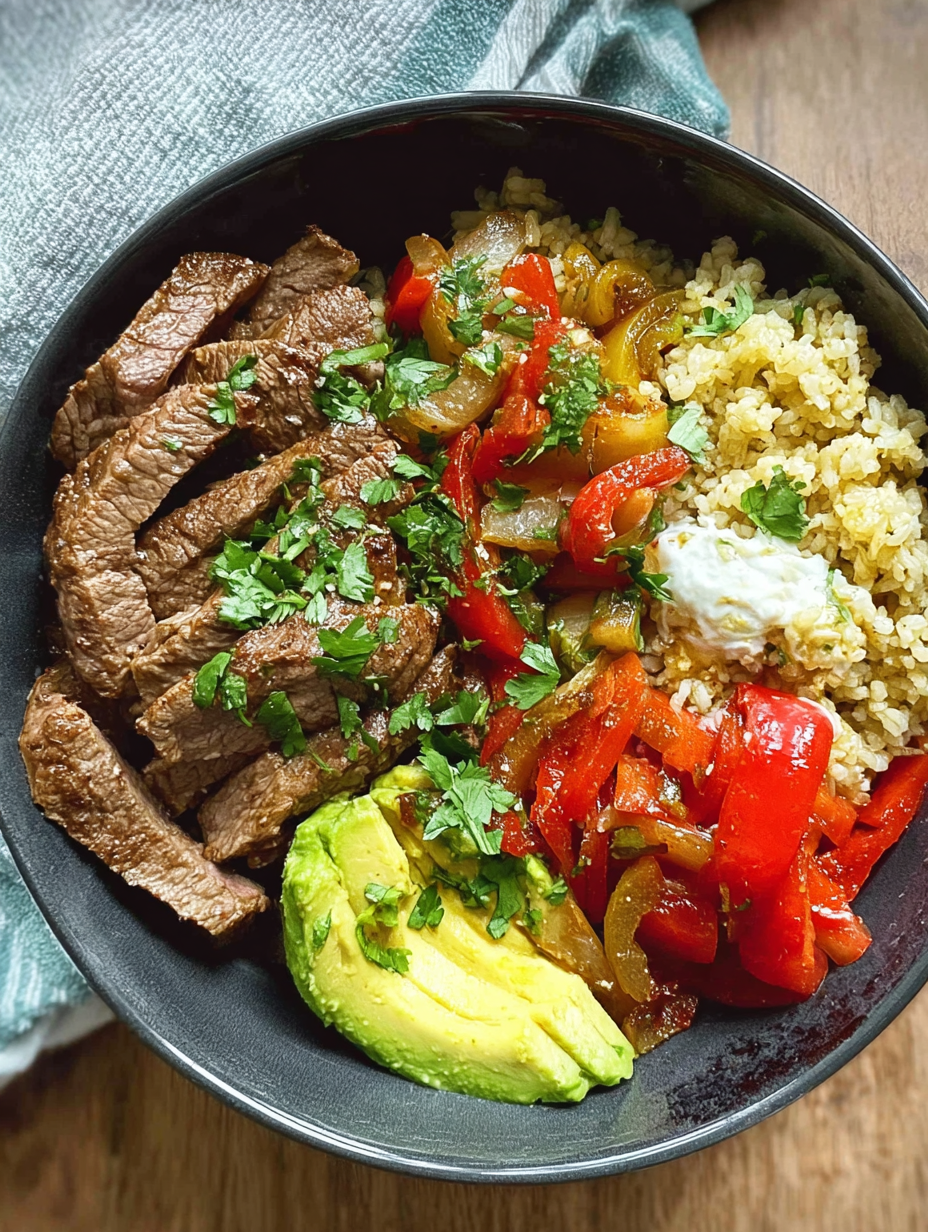
The fun begins once you have your stack of homemade tortillas. For a classic approach, fill them with seasoned grilled chicken, fresh pico de gallo, lettuce, and a dollop of sour cream or Greek yogurt for a healthy chicken wrap. They are sturdy enough for hearty fillings like shredded beef or pulled chicken. For a quick lunch, spread them with hummus, add turkey slices, spinach, and roasted red peppers.
You can even get creative and use them as a base for personal-sized pizzas; just add a thin layer of sauce, cheese, and your favorite toppings and broil until bubbly. Their neutral, slightly savory flavor makes them compatible with almost any cuisine, from Mediterranean to Mexican.
Common Questions & Troubleshooting
Why are my tortillas soggy?
This is almost always due to insufficiently drained zucchini. Be ruthless when squeezing out the water. Also, ensure you are using the correct amount of almond flour to absorb the remaining moisture.
Can I make these vegan?
It’s challenging due to the binding role of the eggs and cheese, but you can experiment. For the eggs, try a flax egg (1 tbsp ground flaxseed mixed with 2.5 tbsp water per egg). For the cheese, use a vegan mozzarella shred that melts well. Results may vary in terms of flexibility.
My tortillas broke when I folded them. What happened?
They may have been under-baked or too thick. Ensure they are a consistent golden brown color and are cooled completely. Thinner tortillas will be more flexible. If they are still brittle, try warming them briefly in a dry skillet for a few seconds to increase pliability.
Nutrition Facts
Understanding the nutritional profile helps you fit these tortillas into your dietary goals. Below is the approximate breakdown per serving (one tortilla).
| Nutrient | Amount |
|---|---|
| Calories | 92 kcal |
| Total Fat | 6 g |
| Carbohydrates | 3 g |
| Fiber | 1 g |
| Sugar | 2 g |
| Protein | 4 g |
| Sodium | 139 mg |
In conclusion, these Zucchini Tortillas are more than just a recipe; they are a tool for healthier, more creative eating. They prove that low-carb eating doesn’t have to be boring or restrictive. With their excellent texture, great flavor, and simple process, they are sure to become a regular feature in your kitchen.
Give them a try and discover a world of delicious, guilt-free wraps. For more inspiration on building complete low-carb meals, explore our collection of recipes that celebrate whole, flavorful ingredients.
The Recipe
PrintZucchini Tortillas (Low Carb)
Pliable, low-carb tortillas made from shredded zucchini, baked to golden perfection. A healthy, gluten-free alternative for wraps, tacos, and more.
- Prep Time: 20 min
- Cook Time: 20 min
- Total Time: 40 min
- Yield: 8 servings 1x
- Category: Main Course
- Method: Baked
- Cuisine: American
- Diet: Gluten-Free,Low-Carb
Ingredients
1 lb zucchini (shredded and drained)
2 large eggs
1/2 cup superfine almond flour
1/2 cup shredded mozzarella cheese
1/4 tsp onion powder
1/4 tsp garlic powder
1/4 tsp salt
Instructions
- Preheat oven to 375°F. Line 2 baking sheets with parchment paper.
- Thoroughly wring dry the shredded zucchini using a kitchen towel. You should have about 1 packed cup.
- In a large bowl, mix the drained zucchini, eggs, almond flour, cheese, onion powder, garlic powder, and salt until combined.
- Scoop 1/4 cup of batter onto a sheet. Form 4 mounds per sheet. Flatten each into a 5-inch circle.
- Bake for 18-22 minutes until edges and surface are golden brown. Let cool completely on the sheet before removing.
Notes
- For crispier edges, bake for the full 22 minutes.
- Cooling is essential for flexibility.
- Store in fridge for up to 5 days or freeze with parchment between tortillas.
Nutrition
- Serving Size: 1 tortilla
- Calories: 92 kcal
- Sugar: 2 g
- Sodium: 139 mg
- Fat: 6 g
- Saturated Fat: 2 g
- Trans Fat: 0 g
- Carbohydrates: 3 g
- Fiber: 1 g
- Protein: 4 g
- Cholesterol: 55 mg