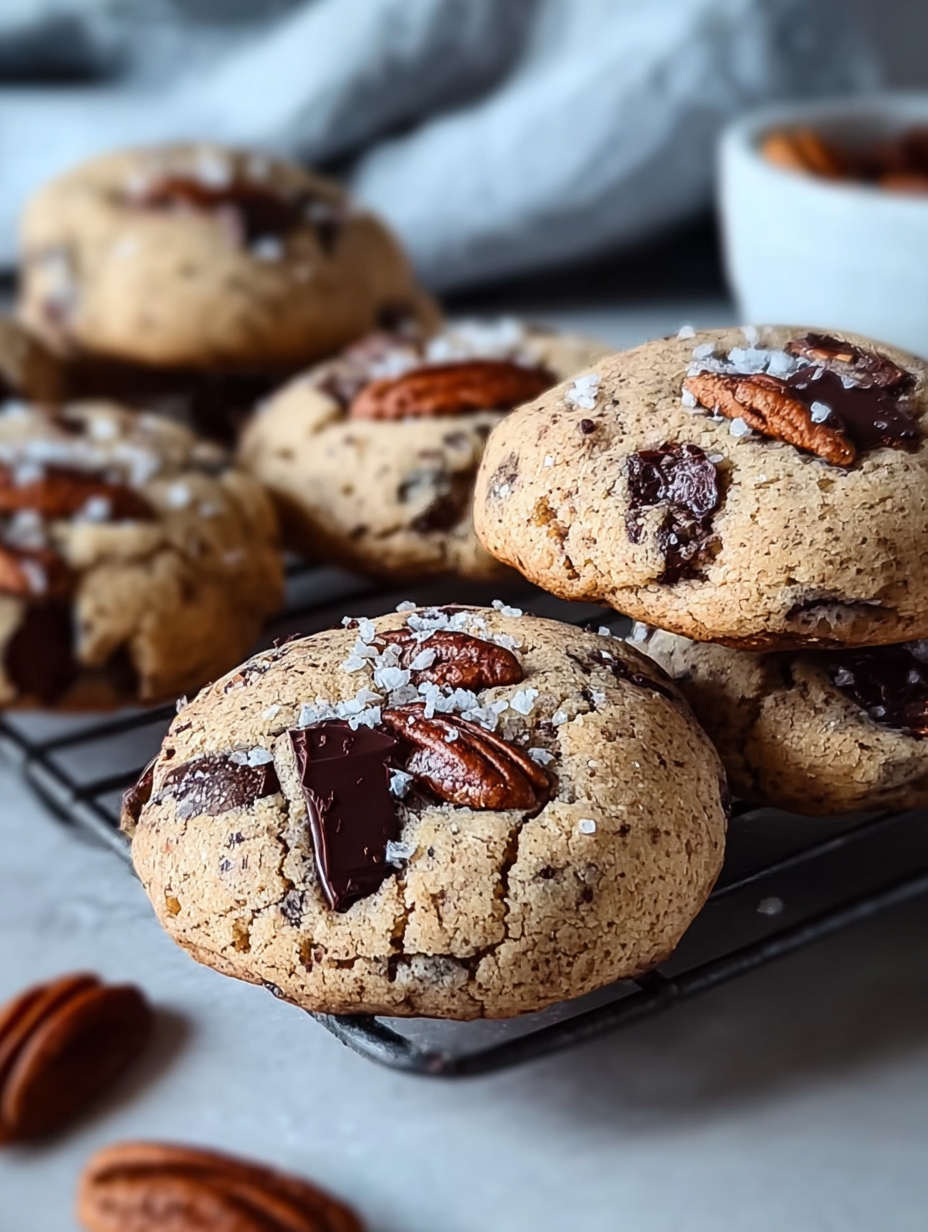

Welcome to your new favorite healthy treat! No-bake crunchy cookies are the perfect solution when you crave something sweet, nutritious, and incredibly easy to make. These cookies bypass the oven entirely, relying on the freezer to set into perfect, bite-sized delights. They’re packed with wholesome fats, fiber, and protein, making them a fantastic snack for busy days, a post-workout boost, or a guilt-free dessert.
This comprehensive guide will walk you through everything you need to know about creating these delicious cookies, from ingredient selection to expert tips for the perfect texture every time.
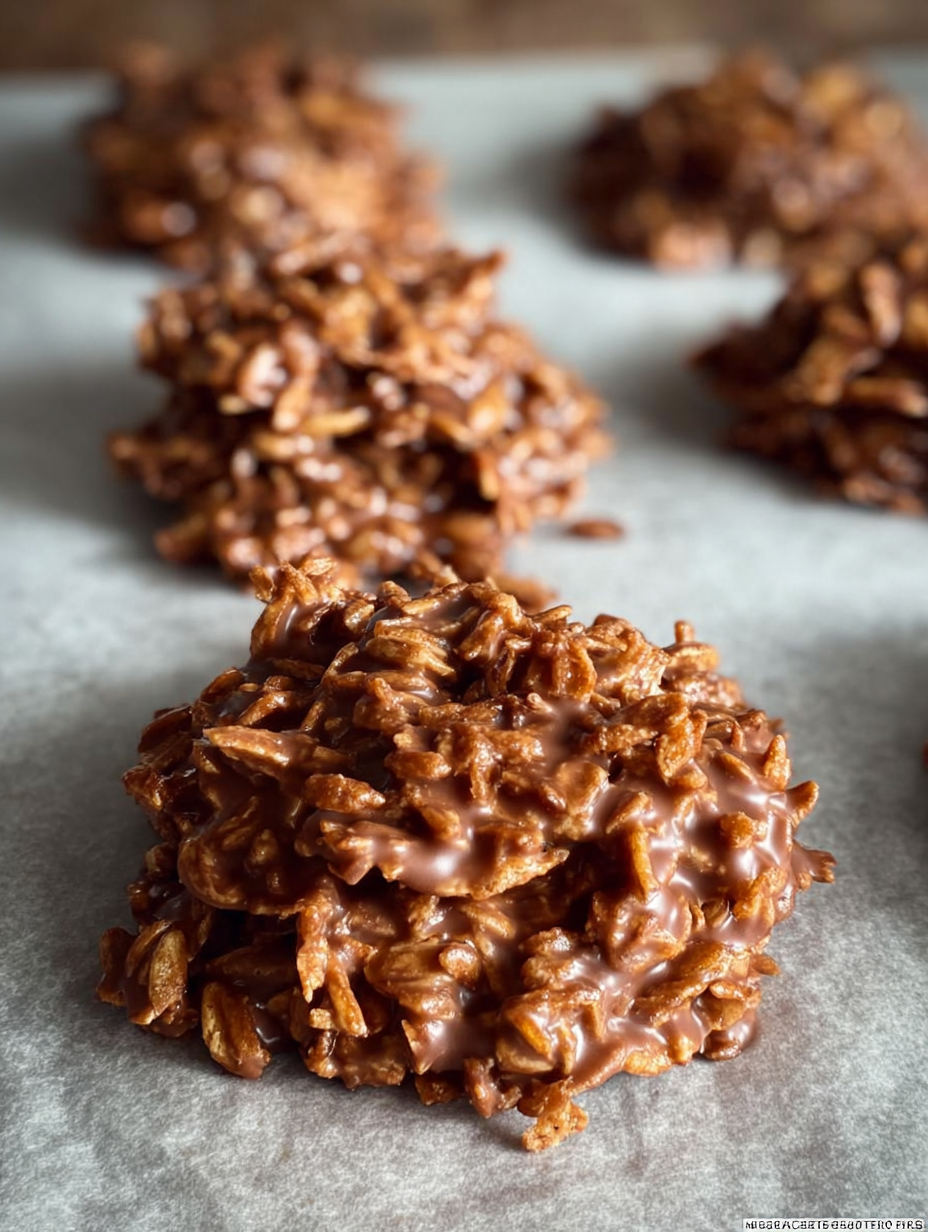
Why Choose No-Bake Crunchy Cookies?
No-bake recipes are a game-changer in the kitchen. They save time, preserve the natural nutrients in ingredients that can be degraded by heat, and are often more forgiving for beginner bakers. These particular cookies get their satisfying crunch from shredded coconut and the natural texture of chunky peanut butter.
The result is a treat that feels indulgent but aligns with a health-conscious lifestyle. They are naturally gluten-free, can be made vegan, and are low in added sugars, depending on your sweetener choice.
Key Health Benefits
Let’s break down the nutritional powerhouse that these cookies represent. Natural Peanut Butter provides healthy monounsaturated fats and plant-based protein, aiding in satiety and heart health. Unsweetened Shredded Coconut is rich in medium-chain triglycerides (MCTs), a type of fat that is easily used for energy by the body, and it adds a significant amount of dietary fiber.
Cocoa Powder is loaded with antioxidants and can support mood and cardiovascular health. By using a natural liquid sweetener like vanilla stevia, you avoid the blood sugar spikes associated with refined sugars.
Ingredient Deep Dive & Substitutions
Understanding each component allows for customization to fit dietary needs and taste preferences.
Core Ingredients Explained
Butter: Provides richness and helps bind the cookies. For a dairy-free or vegan version, substitute with an equal amount of coconut oil. The flavor will be slightly more tropical.
Natural Chunky Peanut Butter: The star of the show. Ensure it’s truly natural—just peanuts and maybe salt. The chunky texture is essential for the cookie’s final crunch. Almond butter, cashew butter, or sunflower seed butter are excellent alternatives for those with nut allergies.
Unsweetened Shredded Coconut: This is the primary source of the ‘crunchy’ texture. Do not use sweetened coconut flakes, as they will make the cookies overly sweet and soft.
Cocoa Powder: Use natural, unsweetened cocoa powder for a deep chocolate flavor. Cacao powder is a less-processed alternative with a more intense, slightly bitter taste and higher antioxidant content.
Liquid Vanilla Stevia: A concentrated, zero-calorie sweetener. You can use other liquid sweeteners like pure maple syrup, agave nectar, or honey. If using a granulated sweetener like coconut sugar, you may need to add a teaspoon of milk (dairy or plant-based) to help the mixture bind.
Mastering the Method: Step-by-Step Instructions
Follow these detailed steps for flawless cookies every single time.
Preparation is Key
Before you begin, line your sheet pan, cutting board, or plate with parchment paper. Having this ready is crucial because the mixture sets quickly once combined. Ensure all your ingredients are measured and at room temperature, except for the butter which you’ll be melting.
The Mixing Process
1. In a microwave-safe bowl, melt the butter in 15-second bursts until just liquid. Alternatively, melt it in a small saucepan over very low heat.
2. Immediately stir in the peanut butter and cocoa powder. The residual heat from the butter will help incorporate the cocoa smoothly, eliminating any lumps.
Mix until you have a homogeneous, glossy chocolate base.
3. Add the shredded coconut and your chosen liquid sweetener. Fold everything together with a spatula until the coconut is thoroughly coated. The mixture will be thick and crumbly but should hold together when pressed.
Shaping and Freezing for Perfect Texture
4. Using a tablespoon measure or a small cookie scoop, portion the mixture onto your prepared parchment-lined surface. Press each mound down slightly with the back of a spoon or your fingers to form a disc. They won’t spread, so you can place them close together.
5. Transfer the entire tray to the freezer. Freeze for a minimum of 15 minutes, or until completely firm.
This quick-freeze sets the fats and solidifies the cookies.
6. Here’s a pro tip: After freezing, use a knife or bench scraper to cut the parchment paper between the cookies while they are still on the tray. This gives each cookie its own little parchment sling, preventing them from sticking together in storage.
Storage, Serving & Creative Variations
Best Practices for Storage
Store these cookies in a sealed container or reusable silicone bag in the refrigerator for up to two weeks. For longer storage, they freeze beautifully for up to three months. Simply layer them between sheets of parchment paper in a freezer-safe container.
Thaw at room temperature for a few minutes before eating. The cold from the fridge enhances their crunchy texture.
Exciting Flavor Variations
Don’t stop at the classic recipe! The base is wonderfully adaptable.
Cookie Dough Bliss: Omit the cocoa powder and add 1/4 cup of oat flour and a handful of mini dark chocolate chips for a ‘cookie dough’ bite.
Tropical Twist: Add 2 tablespoons of finely chopped dried pineapple or mango along with the coconut.
Superfood Boost: Mix in a tablespoon of chia seeds, hemp hearts, or ground flaxseed for an extra omega-3 and fiber kick.
Chocolate-Dipped Deluxe: After the cookies are set, melt some halal-certified dark chocolate and dip half of each cookie for an elegant finish.
Nutritional Breakdown
Understanding what you’re eating empowers you to make informed choices. Here is a detailed nutritional analysis per cookie, based on the standard recipe.
| Nutrient | Amount Per Serving |
|---|---|
| Serving Size | 1 cookie (approx. 20g) |
| Calories | ~98 kcal |
| Total Fat | 8.5g |
| Saturated Fat | 4.2g |
| Unsaturated Fat | 3.8g |
| Trans Fat | 0g |
| Cholesterol | 5mg |
| Sodium | 32mg |
| Total Carbohydrates | 3.5g |
| Dietary Fiber | 1.8g |
| Total Sugars | 0.8g |
| Protein | 2.5g |
These values are estimates calculated using standard ingredient data. Your specific values may vary slightly based on the exact brands and measurements you use.
Frequently Asked Questions
Can I make these without a microwave?
Absolutely. Simply melt the butter in a small saucepan over very low heat on the stovetop. Remove from heat before adding the other ingredients.
My mixture is too dry and won’t hold together. What should I do?
If your nut butter is particularly thick or your coconut is very dry, the mixture may be crumbly. Add an extra 1/2 tablespoon of melted butter or a teaspoon of a liquid sweetener (like maple syrup) to help it bind.
Are these cookies suitable for a keto diet?
Yes, with a minor tweak. The primary carbs come from the coconut. Ensure you are using a keto-approved liquid sweetener like pure stevia or monk fruit, and enjoy in moderation as part of your macronutrient plan.
How can I ensure maximum crunch?
The key to crunch is proper freezing and storage. Do not shorten the freezer time. Always keep them stored in the fridge or freezer. Letting them sit at room temperature for too long will cause them to soften.
Conclusion
No-bake crunchy cookies are more than just a simple recipe; they represent a smart, healthy, and delicious approach to snacking. With minimal effort, no special equipment, and a short list of wholesome ingredients, you can create a treat that satisfies your sweet tooth while fueling your body.
This recipe is a fantastic base for endless creativity, so feel free to experiment with different nut butters, add-ins, and flavors. Once you try these, you’ll wonder how you ever lived without this easy, freezer-friendly staple in your recipe repertoire.
The Recipe
PrintNo-Bake Crunchy Cookies
These easy, no-bake cookies are crunchy, healthy, and require just 5 simple ingredients. They’re the perfect gluten-free, protein-packed snack made in the freezer.
- Prep Time: 10 mins
- Cook Time: 0 mins
- Total Time: 25 mins
- Yield: 12 servings 1x
- Category: Dessert, Snack
- Method: No-Bake
- Cuisine: American
- Diet: Gluten-Free, Vegetarian
Ingredients
2 tbsp butter (or coconut oil for vegan)
2/3 cup natural chunky peanut butter (or any nut/seed butter)
1 cup unsweetened shredded coconut
1 tbsp cocoa powder
4 drops liquid vanilla stevia (or liquid sweetener of choice)
Instructions
- In a microwave safe bowl, melt the butter.
- Stir in the peanut butter and cocoa powder until smooth.
- Add the shredded coconut and stevia; mix well.
- Scoop 1 tbsp size spoonfuls onto a small parchment lined sheet pan.
- Freeze for 15 minutes.
- Cut parchment between cookies for easy storage. Store in fridge or freezer.
Notes
- For a binding agent if mixture is dry, add a touch more melted butter or liquid sweetener.
- Store in a sealed container in the fridge for up to 2 weeks or freeze for 3 months.
- For a flavor twist, try adding dark chocolate chips, dried fruit, or seeds.
Nutrition
- Serving Size: 1 cookie
- Calories: 98
- Sugar: 0.8g
- Sodium: 32mg
- Fat: 8.5g
- Saturated Fat: 4.2g
- Unsaturated Fat: 3.8g
- Trans Fat: 0g
- Carbohydrates: 3.5g
- Fiber: 1.8g
- Protein: 2.5g
- Cholesterol: 5mg